Randomizing Surface division in Para 3d 3.0
See Para 3d in Action!
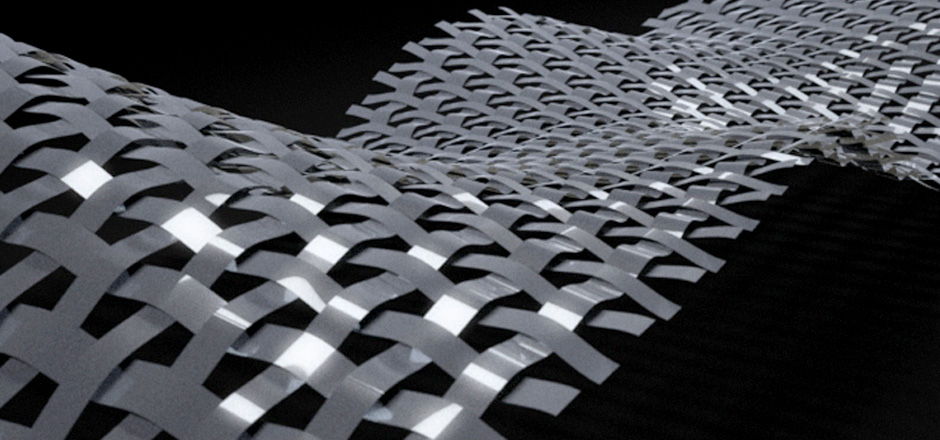
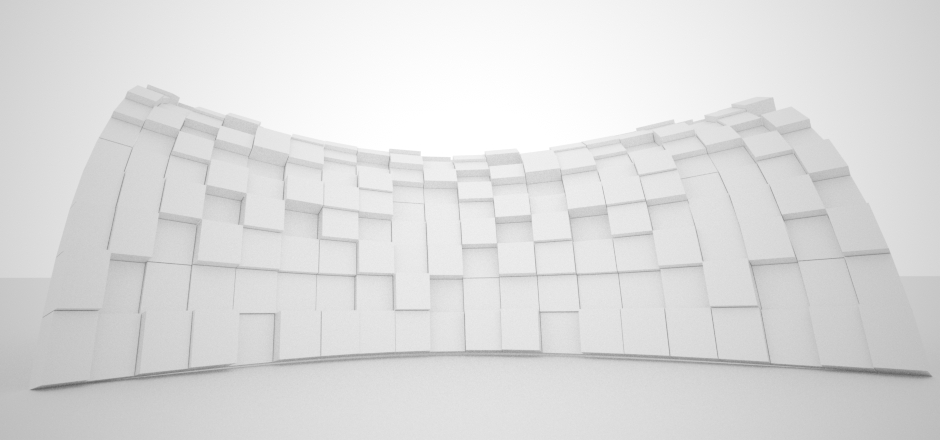
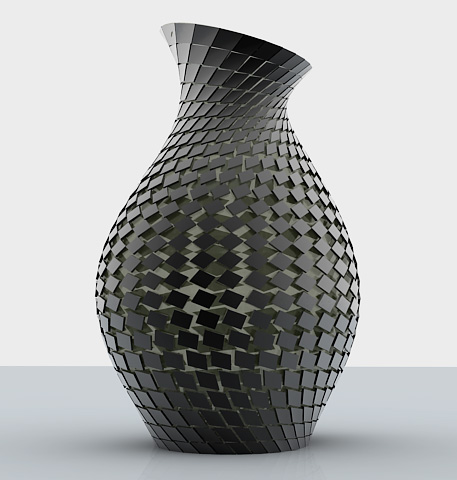
Again randomizing surface division and use of mix controller to implement two magnets.
this time with para 3d V 3.0
April 1, 2013 at 2:07 pm Comments (0)
See Para 3d in Action!
Again randomizing surface division and use of mix controller to implement two magnets.
this time with para 3d V 3.0

Learn how to use Sub object controller in surface controller in order to create custom patterns.

In this video you learn how to use random controller within surface controller to change the thickness of panels. Also you learn how to control the random values while using random controller on multiple properties/controllers.
For more information on random controller see also : Random pattern and noise effect in animation
This is a simple technique to visualize the discreet curvature of mesh/poly/nurbs (All kind of objects) in 3ds MAX using Mesh controller in PARA . You also will learn how to use the custom attributes with parametric arrays.
This video demonstrate a very simple and quick technique which uses the surf-deform modifier and PARA 3d to clad a NURBS surface, if you work on patches you may use patch deform instead. In second video you learn how to use offset controller and sub-object controllers to slide the hexagon shape panels on the surface in a way that they make a honeycomb pattern.
This video is first tutorial in preparing materials for fabrication of simple surface using triangle panels. first you learn how to use PARA to panelize a surface with a triangle panel and then you will find out how to transfer each individual panel from the current location to ground plane and sort them in order to create planar faces. the result can be exported to CAD software to use for laser cutting for example.
In this video I’m using PARA to create a light sensitive shading structure in form of dome that responds to the location of sun which it also follows the daylight system in 3ds max. I use surface controller to populate the surface with the custom made panel. Each triangular panel has three blades folding among the outer edge. Panels are designed to block the direct sun light while they allow the indirect light to penetrate the surface of the dome.
This is an example of using Magnet controller to derive the values based on orientation of the objects according to the magnet node. The angle of the panel is set to the angle between the Z axis of the object (the panels have been transformed to the surface using a surface controller on transform property) and the line that connects the sun node to that object. It’s very important that sun node must be far enough from the objects in array so the sun rays become approximately parallel.
A new function of PARA 2.2 has been incorporated in this video to create the resulted animation. This new utility allows user to select the desired controller/property and creates a series of key frame within given time frame. The use of utility is very simple and straight forward and does not require further explanation.
Watch the back scene in 6 min, although this video is not a tutorial, I hope that you can learn something!
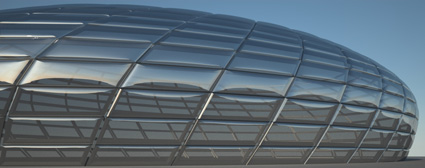
I was challenging the PARA II to model something like the Allianz Arena stadium in 3DS MAX. Each panel composed of a solid flat frame and a bulged part. To imitate the lighting effect I assigned a material modifier to the smooth part of panel and a Pattern controller change the index value.
The skew effect of the skin is the result of the deform controller that takes the initial value from the sub-object controller and pass it to the UVW offsets in surface controller. The disadvantage of this method is when you try to use the UVW mapping to get uniform subdivision all over the surface. I shall add an option to surface controller to fix this problem soon.

Level: Advanced
In This Video:
surfaceController takes following arguments:
surface:surface name –Name of object in 3ds Max
feedback:transform/position/rotation –function returns transform matrix, position in point3 value and rotation in EulerAngles value
uOffset:offset value –Increase or decrease offset in U direction
vOffset:offset value –Increase or decrease offset in V direction
normalOffset:offset value –increase or decrease the normal offset
mode:1 or 2 — set the controller in relative mode (2) or absolute mode (1)
order: 1 to 9 — choose the order of rotation (items in drop down menu) works only when feedback is set to rotation
data: 1 or 2 — use uv-mapping information (2) or NURBS evaluation functions (1)
uv:1 or 2 — choose the uv direction.
surfaceID: index number — identify the surface index when works with nurbs object or choose
the UV mapping channel when working with mapping information

Level: Advanced
In This Video: